When it comes to fishing tackle, I hold a view similar to the pimply one. The last kingi episode saw me tying a stopper and barrell knot in my fly line to attach the new leader.
 |
| Ugly, but it worked. |
Anyway, I got the rigging kit out (if you are serious about SWF, sooner or later you'll need to be able to do this yourself. I recommend getting a copy of Peter Morse's "Arbour to Fly" DVD) and put a new braided loop on.
Here's how.
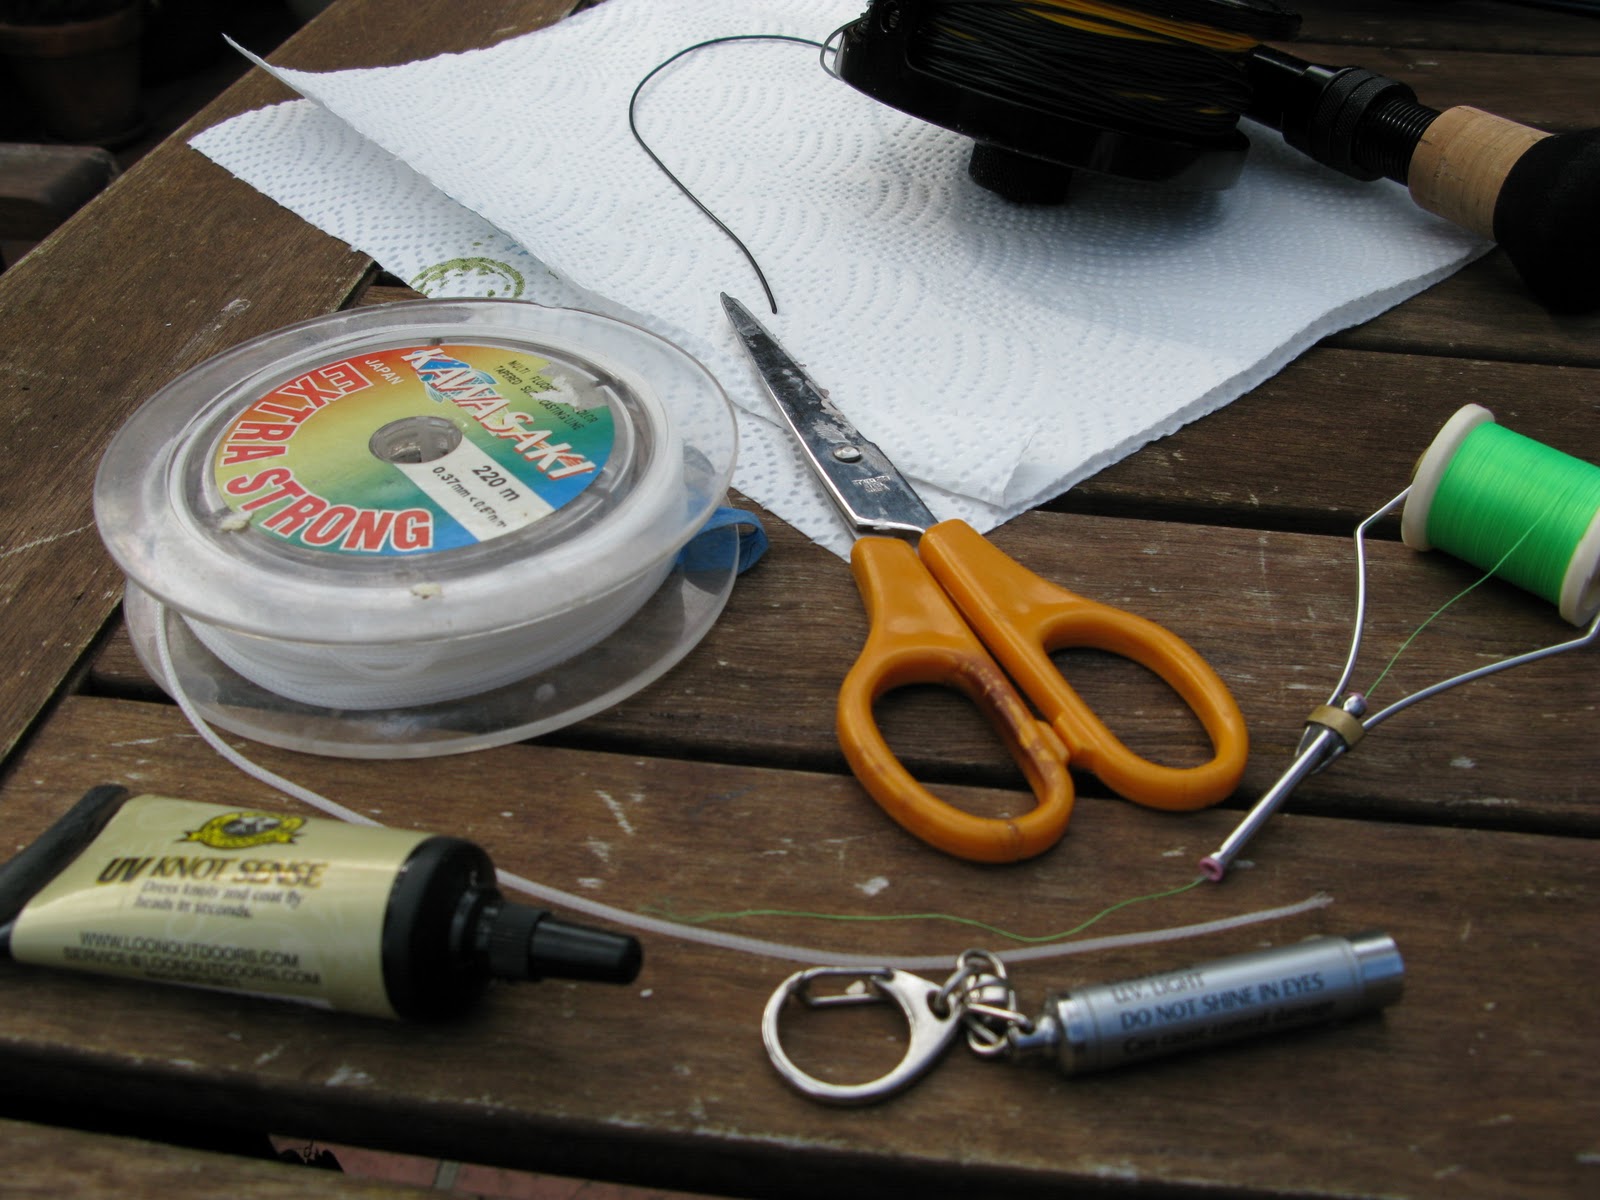
You'll need - bradided mono, thread and bobbin (I like mono tying thread, but am out) some super glue, a braided mono hooky tool thingy (yeah there's a technical name but buggered if I remember it right now...) and to finish some UV glue and UV light.
Here's the hooky thingy.

Cut a piece of braided mono, and using the tool, form a loop.

Now, I used to trim off that tail and use the resulting single locked result as my loop - FAIL! Steve Fray who used to work at Hunts, showed me the right way to lock it, by simply drawing the whole tail through again. It stops the loop slipping.
Like so.

Now, we stuff in our fly line. Some people scuff the coating slightly with sand paper, I don't.

Now, add a dab of superglue to the mono, and work the braid so the glue works in. The principle of the loop is the Chinese Finger Trap - where the more pressure applied to the loop by the leader exerts a stronger grip on the line. So, the glue isn't to hold the loop, but to reduce slippage.
Now, we bind the braided loop in 2 places to tidy up the non terminal end, and another to again hold the loop.

Tidy up the loose bits. Now, add the UV glue to the binds and cure with the UV light. I did this outside so had to work fast, UV glue cures fastish in the sun. Also, be careful with UV torches, looking into the beam is up there with glue sniffing in terms of inducing self harm.


Voila, but you're not finished just yet. You need to hook the loop over a hook and give it a firm pull. If it fails, start over. If it's firm, nice work.

Now we're ready again, happy in the knowledge that we have a connection that's not going to fail us.
No comments:
Post a Comment